 A Closer Look at 3-D Renderings
✉️ Want to forward this article? Click here.
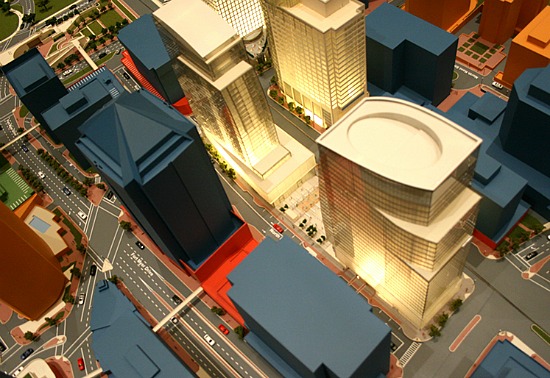
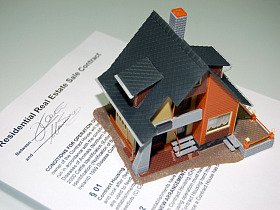
3-D models printed by ArchiBIM.
At an ANC meeting last year in Ward 6, an object was passed around the room that elicited oohs and aahs from those in attendance: a 3-D rendering of a building proposed for the H Street Corridor.
Rather than renderings displayed on easels or shown on a projection screen, the developer of the project created a three-dimensional printed model to give the community a tangible sense of the scope and design of the building, albeit on a very small scale.
Intrigued by the thought that 3-D printing is how proposed residential and mixed-use projects could be presented to the community in the future, UrbanTurf reached out to the ArchiBIM for an explanation and presentation for how these three-dimensional renderings are created. ArchiBIM is a Virginia-based architectural presentation firm that specializes in creating scale models, renderings, and virtual reality art for developers, builders, architects, and marketing agencies in the region.
Below is a video of a 3-D rendering being printed, followed by a step-by-step explanation of the process, courtesy of ArchiBIM.
The model in this video was created using ColorJet Printing (CJP), a type of 3-D printing that uses powder and a color or clear (monochromatic) binder. This technology is similar to printing on paper. As each layer is spread, the binder is jetted from print heads and causes the powder to solidify. The print platform adjusts with every layer as it spreads and prints, resulting in a full-color or monochromatic 3-D model.
The process starts by creating or modifying an existing 3-D model, which is generated on a computer with a number of 3-D applications, including off the shelf applications like Google Sketch-up. The model is then exported to software for the Z Corp ColorJet 3-D printer, which checks it for structural consistency and accuracy.
Next, the operator prepares the machine by adding the powder and binder. Depending on the printer model, this step could be done manually or completed by inserting cassettes with the materials and setting up the printing bed. After this step is complete, the printing process begins.
Once the last layer is printed, the remaining soft powder compound material is collected and recycled. The model is air-pressure cleaned in a vacuum booth (adjacent or separate from the printing bed).
Lastly, hardening polymers and epoxy resins are applied to strengthen the model, and preserve its structure and shape.
This article originally published at https://dc.urbanturf.com/articles/blog/a_closer_look_at_3d_renderings/8147.


UrbanTurf Listings showcases the DC metro area's best properties available for sale.
Most Popular... This Week • Last 30 Days • Ever

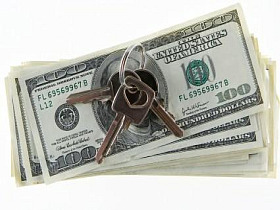
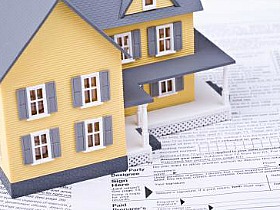
UrbanTurf is re-running its primer on property taxes which outlines a few things that... read »
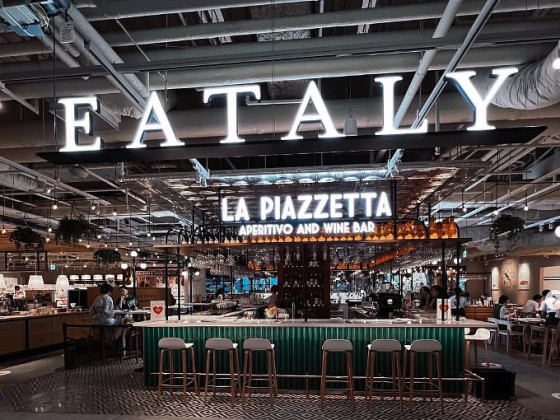
The wait for Eataly in the DC area has been a long one.... read »
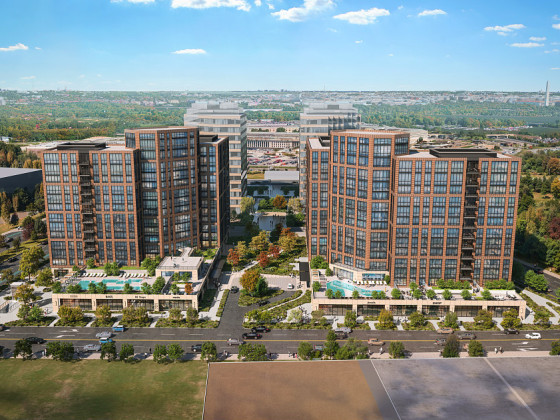
The Arlington County Board signed off on a pair of transformative residential project... read »
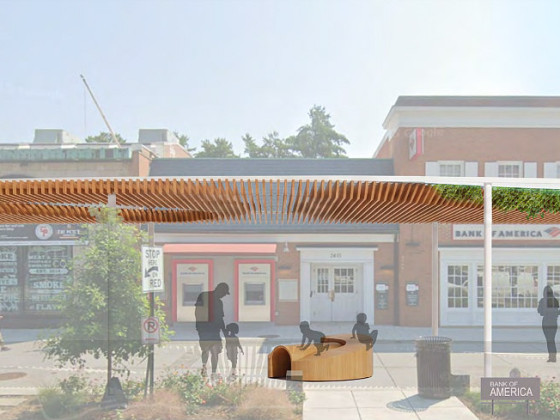
The plan to add a shade structure along the Cleveland Park commercial corridor has re... read »
DOGE doesn't seem dead yet; Monument buys Inn of Rosslyn; and Costco gas stations are... read »


DC Real Estate Guides
Short guides to navigating the DC-area real estate market
We've collected all our helpful guides for buying, selling and renting in and around Washington, DC in one place. Start browsing below!
First-Timer Primers
Intro guides for first-time home buyers
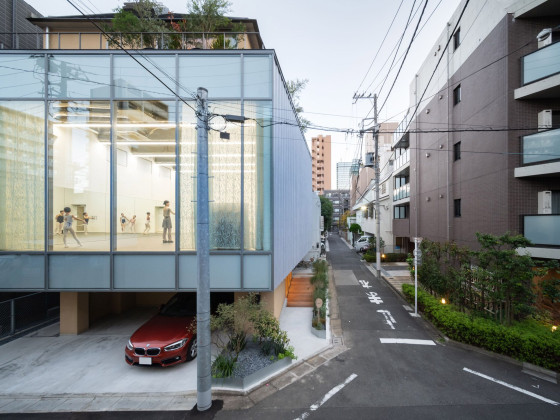
Unique Spaces
Awesome and unusual real estate from across the DC Metro